BOINC (Berkeley Open Infrastructure for Network Computing) is an open-source system for volunteer computing. It is a high-performance distributed computing platform. It brings together as many personal computers that all together would be one of largest processing capability in the world compared with individual supercomputers. In essence, BOINC is software that can exploit the unused CPU and GPU cycles on a computer to do scientific computing — what one individual does not utilize of their computer, BOINC uses.
There are about 30 science projects that use BOINC in many areas. They investigate diseases, study climate change, discover pulsars, and do many other types of scientific research. (source: Wikipedia and BOINC homepage)
In this project we will create an EC2 instance on Amazon AWS, install the BOINC client on it and attach to a science project.
Launch an EC2 instance on AWS
In this occasion we will use the AWS Management Console to spin up our virtual machine.
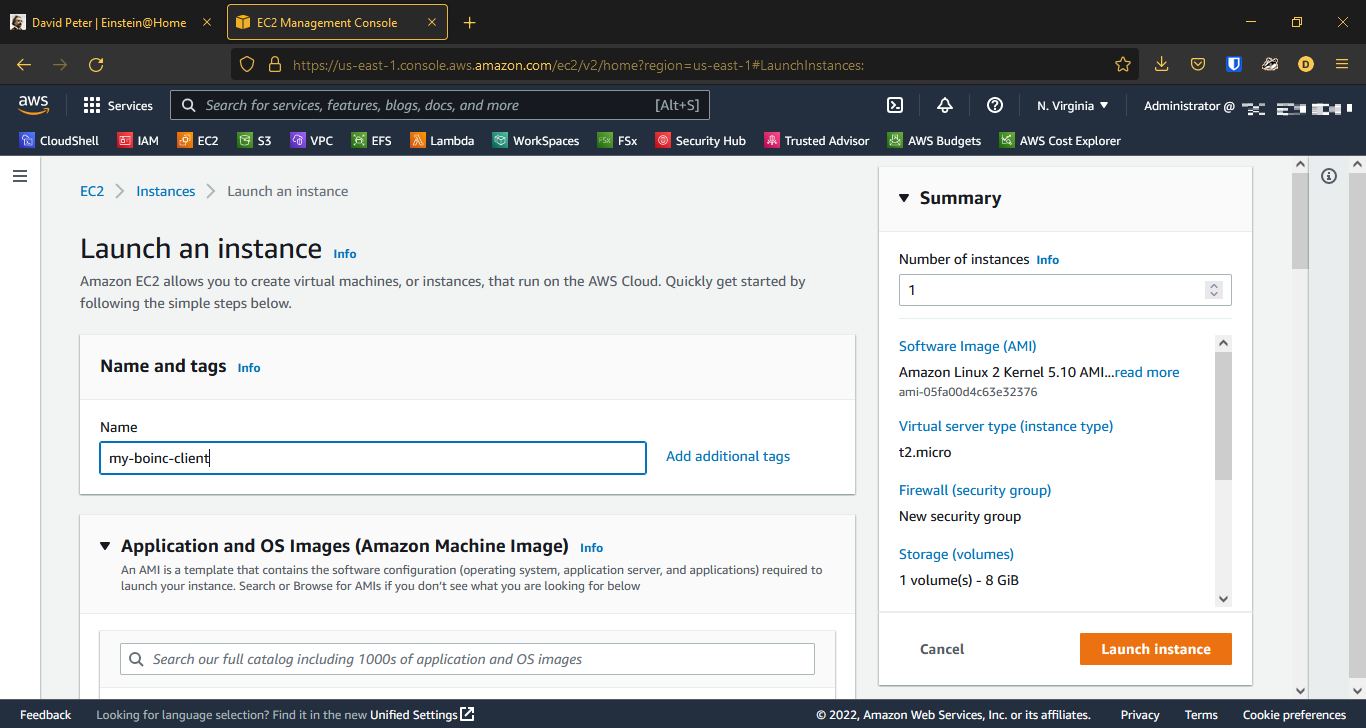
Name the instance
We use a nice and descriptive name for the machine.
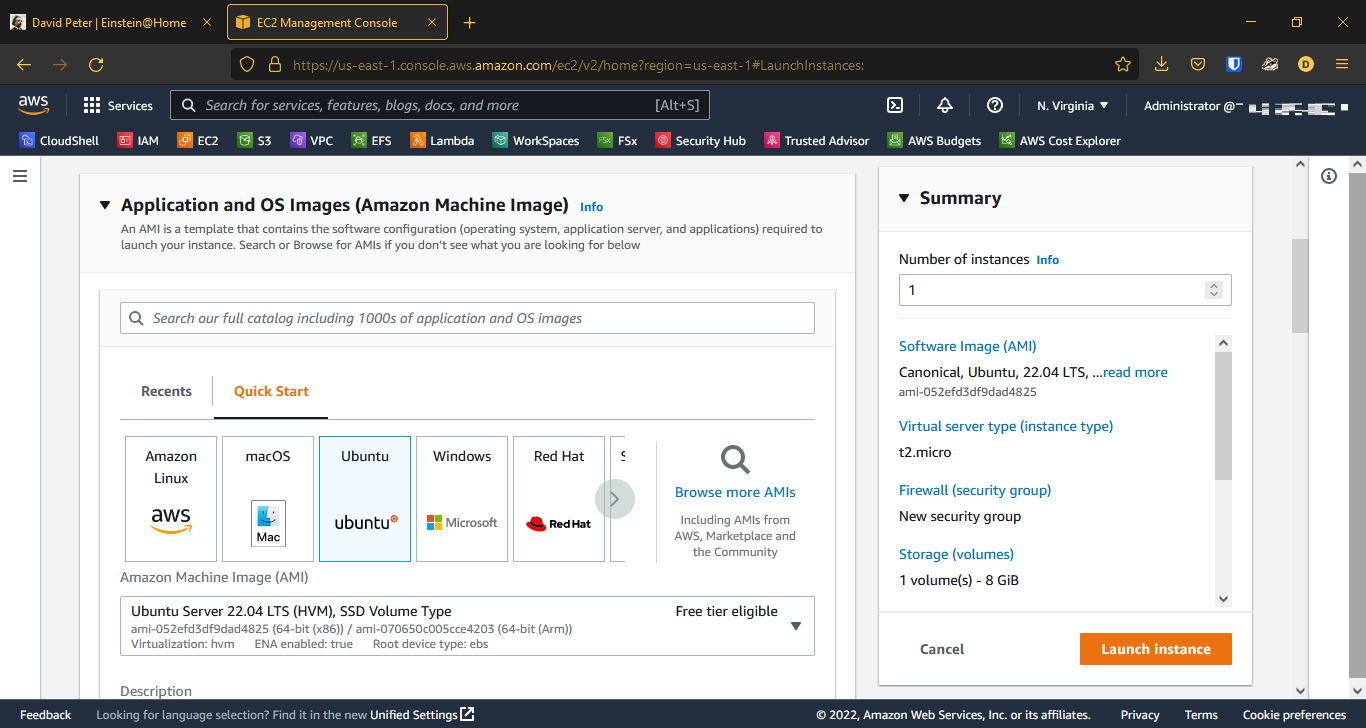
Select the image
Let’s use Ubuntu 22.04 LTS.
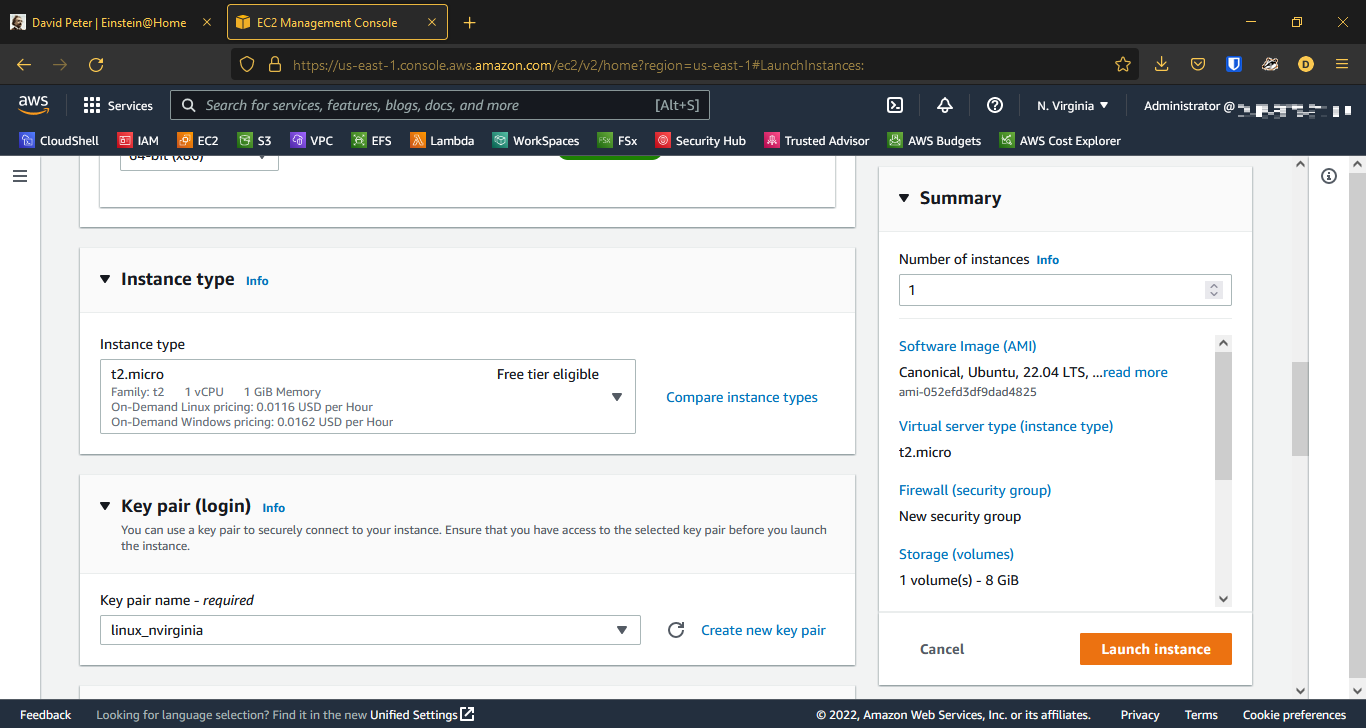
Select the instance type and the key par
For instance type we select t2.micro since it is elegible as part of the free tier. A key pair is recommended to use to connect to the instance securely. We had formerly created a key called linux_nvirginia.
Select security groups
In order to SSH the instance and be able to connect to it via the BOINC manager (see later), we create and attach a security group, allowing all incoming traffic from our IP address.

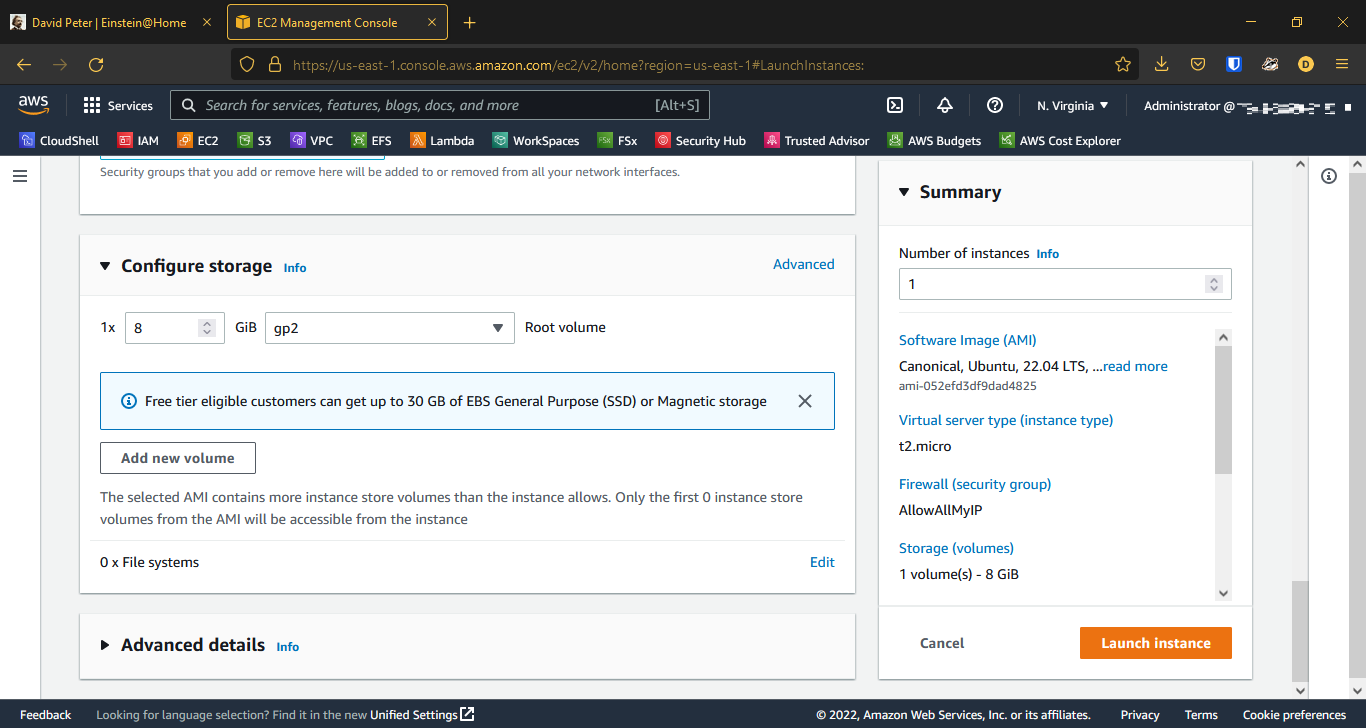
Configure storage
It is ok to leave the standard setting of 8GB SSD volume.
Our instance is being launched
Just a few moments more…
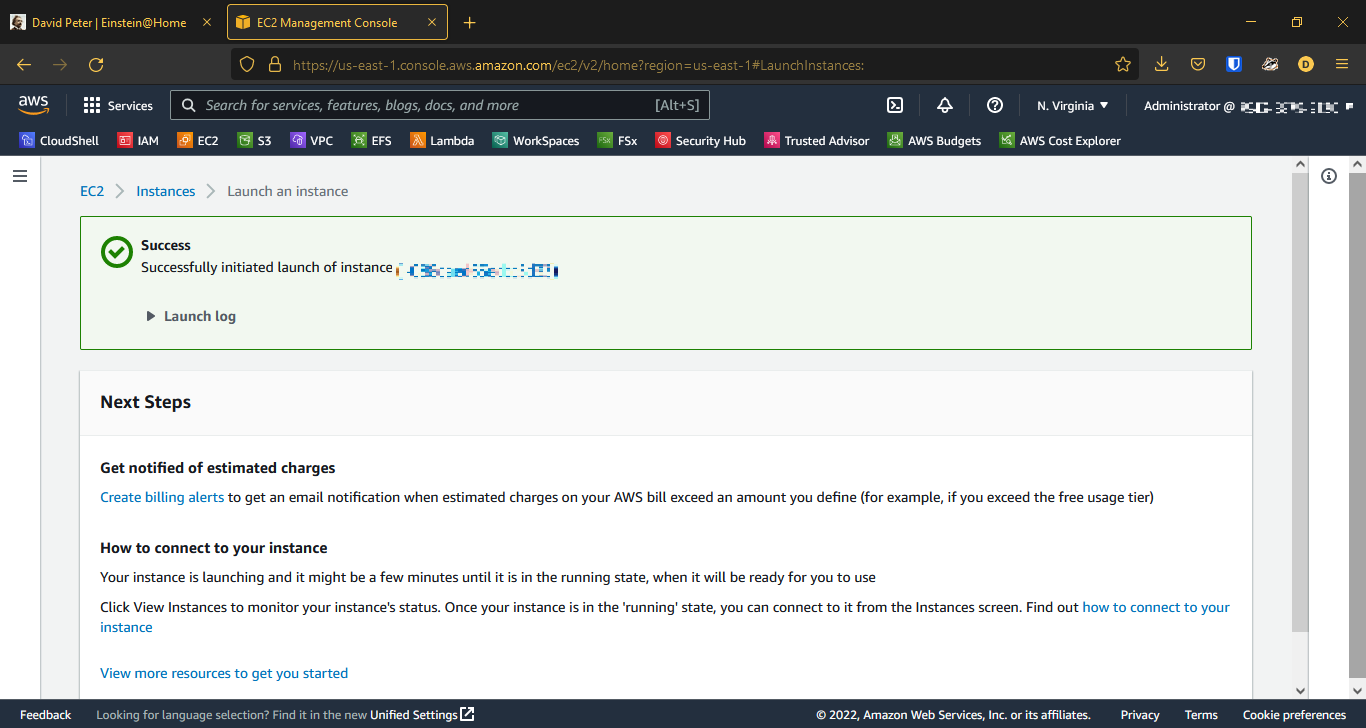
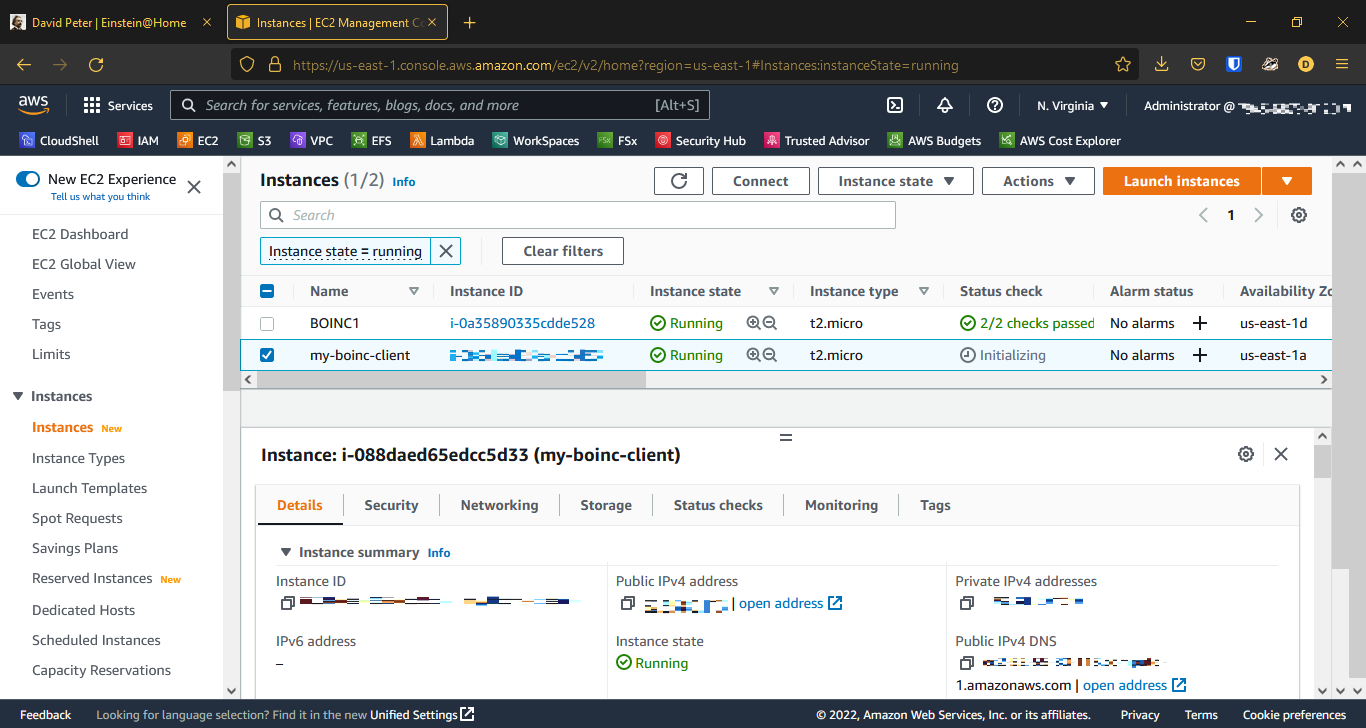
Instance up and running
Now we are ready to install the BOINC client.
Installing and configuring BOINC
SSH to our just-baked instance
To connect using our instance’s public DNS name, we enter the following command:
ssh -i /path/key-pair-name.pem instance-user-name@instance-public-dns-name
The user name for Ubuntu instances is ubuntu. Please refer to the AWS Documentation for usernames of other Linux distributions.
PS C:\Users\54911> ssh -i "linux_nvirginia.pem" ubuntu@ec2-1-2-3-4.compute-1.amazonaws.com
The authenticity of host 'ec2-1-2-3-4.compute-1.amazonaws.com (1.2.3.4)' can't be established.
ECDSA key fingerprint is SHA256:+N8HEg9hS+v/gd3PLalPp4wefft43FAASw23rkVsg7s3o.
Are you sure you want to continue connecting (yes/no/[fingerprint])? yes
Warning: Permanently added 'ec2-1-2-3-4.compute-1.amazonaws.com,1.2.3.4' (ECDSA) to the list of known hosts.
...
Once connected, we update the package information and install available upgrades of all packages
ubuntu@ip-172-31-25-132:~$ sudo apt update && sudo apt upgrade -y
Hit:1 http://us-east-1.ec2.archive.ubuntu.com/ubuntu jammy InRelease
Get:2 http://us-east-1.ec2.archive.ubuntu.com/ubuntu jammy-updates InRelease [114 kB]
Get:3 http://us-east-1.ec2.archive.ubuntu.com/ubuntu jammy-backports InRelease [99.8 kB]
Get:4 http://us-east-1.ec2.archive.ubuntu.com/ubuntu jammy/universe amd64 Packages [14.1 MB]
...
Then we install the BOINC client as easy as the following
ubuntu@ip-172-31-25-132:~$ sudo apt install boinc-client -y
Reading package lists... Done
Building dependency tree... Done
Reading state information... Done
The following additional packages will be installed:
  libboinc7 libxss1 x11-common
Suggested packages:
  boinc-manager boinc-client-opencl boinc-client-nvidia-cuda x11-xserver-utils
The following NEW packages will be installed:
  boinc-client libboinc7 libxss1 x11-common
...
Checking the status of the boinc-client service
We realize that is inactive:
ubuntu@ip-172-31-25-132:~$ sudo systemctl status boinc-client
○ boinc-client.service - Berkeley Open Infrastructure Network Computing Client
     Loaded: loaded (/lib/systemd/system/boinc-client.service; disabled; vendor preset: enabled)
     Active: inactive (dead)
       Docs: man:boinc(1)
The advantage of running BOINC as a daemon on Linux is that it automatically starts when the OS boots and it runs even when no users are logged on. So that we start it (to load) then enable it (to load after every reboot).
ubuntu@ip-172-31-25-132:~$ sudo systemctl start boinc-client
ubuntu@ip-172-31-25-132:~$ sudo systemctl enable boinc-client
Synchronizing state of boinc-client.service with SysV service script with /lib/systemd/systemd-sysv-install.
Executing: /lib/systemd/systemd-sysv-install enable boinc-client
Created symlink /etc/systemd/system/multi-user.target.wants/boinc-client.service → /lib/systemd/system/boinc-client.service.
Now the daemon is active and enabled:
ubuntu@ip-172-31-25-132:~$ sudo systemctl status boinc-client
● boinc-client.service - Berkeley Open Infrastructure Network Computing Client
     Loaded: loaded (/lib/systemd/system/boinc-client.service; enabled; vendor preset: enabled)
     Active: active (running) since Fri 2022-09-02 17:45:27 UTC; 26s ago
       Docs: man:boinc(1)
   Main PID: 1223 (boinc)
      Tasks: 2 (limit: 1143)
     Memory: 12.3M
        CPU: 450ms
     CGroup: /system.slice/boinc-client.service
             └─1223 /usr/bin/boinc

Sep 02 17:45:28 ip-172-31-25-132 boinc[1223]: 02-Sep-2022 17:45:28 [---]    don't use GPU while active
Sep 02 17:45:28 ip-172-31-25-132 boinc[1223]: 02-Sep-2022 17:45:28 [---]    suspend work if non-BOINC CPU load exceeds 25%
Sep 02 17:45:28 ip-172-31-25-132 boinc[1223]: 02-Sep-2022 17:45:28 [---]    (to change preferences, visit a project web s>
Sep 02 17:45:28 ip-172-31-25-132 boinc[1223]: 02-Sep-2022 17:45:28 [---] Setting up project and slot directories
Sep 02 17:45:28 ip-172-31-25-132 boinc[1223]: 02-Sep-2022 17:45:28 [---] Checking active tasks
Sep 02 17:45:28 ip-172-31-25-132 boinc[1223]: 02-Sep-2022 17:45:28 [---] Setting up GUI RPC socket
Sep 02 17:45:28 ip-172-31-25-132 boinc[1223]: 02-Sep-2022 17:45:28 [---] Warning: GUI RPC password is empty.  BOINC can b>
Sep 02 17:45:28 ip-172-31-25-132 boinc[1223]: 02-Sep-2022 17:45:28 [---] Checking presence of 0 project files
Sep 02 17:45:28 ip-172-31-25-132 boinc[1223]: 02-Sep-2022 17:45:28 [---] This computer is not attached to any projects
Sep 02 17:45:28 ip-172-31-25-132 boinc[1223]: 02-Sep-2022 17:45:28 Initialization completed
lines 1-21/21 (END)
Configuration
Before attach the client to a project, we do some basic changes in configuration. In order to be able to connect the client remotely, we have to add our public IP in the remote_hosts.cfg configuration file. To edit the file with nano:
ubuntu@ip-172-31-25-132:~$ sudo nano /etc/boinc-client/remote_hosts.cfg
GNU nano 6.2                                /etc/boinc-client/remote_hosts.cfg *
# This file contains a list of hostnames or IP addresses (one per line)
# of remote hosts, that are allowed to connect and to control the local
# BOINC core client via GUI RPCs.
# Lines beginning with a # or a ; are treated like comments and will be
# ignored.
#
#host.example.com
#192.168.0.180
4.3.2.1   #This is the public IP of the computer you want to connect the client from
It is important to protect our BOINC client from unauthorized control. GUI RPCs (Graphical User Interface Remote Procedure Call) are authenticated with a GUI RPC password. This is stored with the client in the file gui_rpc_auth.cfg.
ubuntu@ip-172-31-25-132:~$ sudo nano /etc/boinc-client/gui_rpc_auth.cfg
GNU nano 6.2                                /etc/boinc-client/gui_rpc_auth.cfg *
kGE9dfwff322jna23   #This is your password
In order to the config changes take effect, we have to restart the service:
ubuntu@ip-172-31-25-132:~$ sudo systemctl restart boinc-client
ubuntu@ip-172-31-25-132:~$
Let BOINC start to exploit our computer’s resources
You will find the list of known projects at the BOINC website. For this presentation we have chosen Einstein@Home.
The first step is create an account on the site, then go to the Credentials page to see your “Account key”.

To attach the Einstein@Home project to our machine we simply run the following command, changing “YOUR_ACCOUNT_KEY” with our own key.
ubuntu@ip-172-31-25-132:~$ sudo boinccmd --project_attach http://einstein.phys.uwm.edu/ YOUR_ACCOUNT_KEY
ubuntu@ip-172-31-25-132:~$
If we look at the processor usage of active processes with a system monitor - my favorite is htop - we will see that BOINC is running and actually uses a great part of the available resources.
ubuntu@ip-172-31-25-132:~$ htop
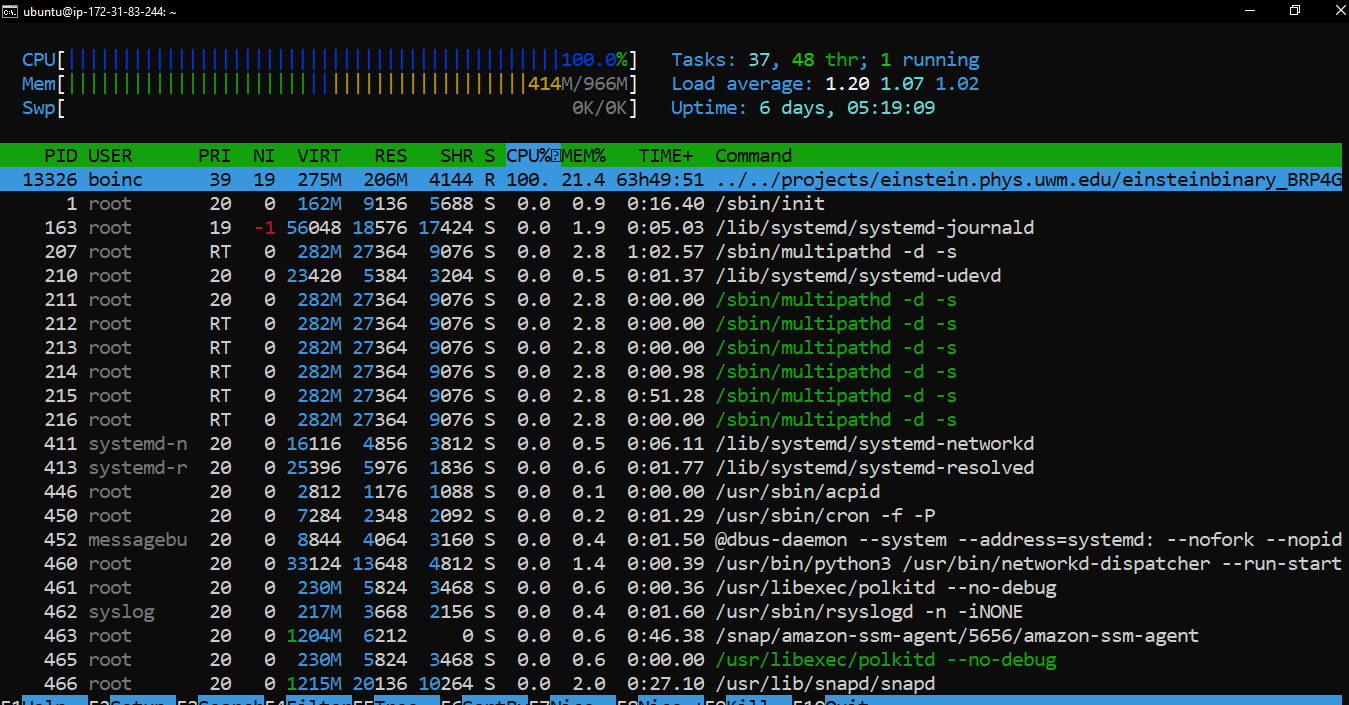
Computing preferences (CPU, memory, disk, network usage, etc.) of clients can be modified one by one with the boinccmd interface, but also centrally on the project homepage. In case of Einstein@Home you can do it on this link.
Connect the client via BOINC Manager
The BOINC Manager is a ‘control panel’ for BOINC. It provides a graphical interface for monitoring and controlling the BOINC Client (which is sometimes also called the “core client”). The Manager is a separate program and does not have to run all the time. The BOINC Manager can also be used for remote control of a BOINC Client running on another computer (if the client on that computer allows that). (source: BOINC wiki)
We don’t go through the installation step by step, but here is how to connect our client via the manager.
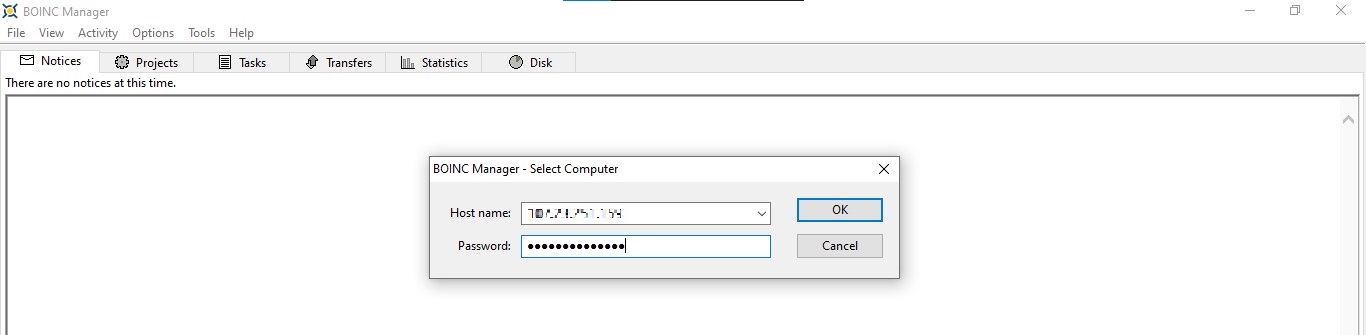
We choose File/Select computer…
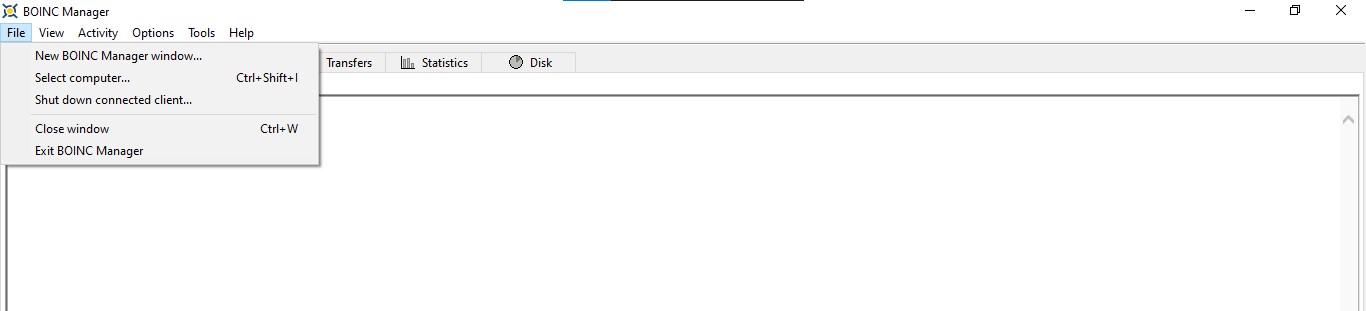
Enter the public IP of the EC2 instance and the password we set in the file gui_rpc_auth.cfg.
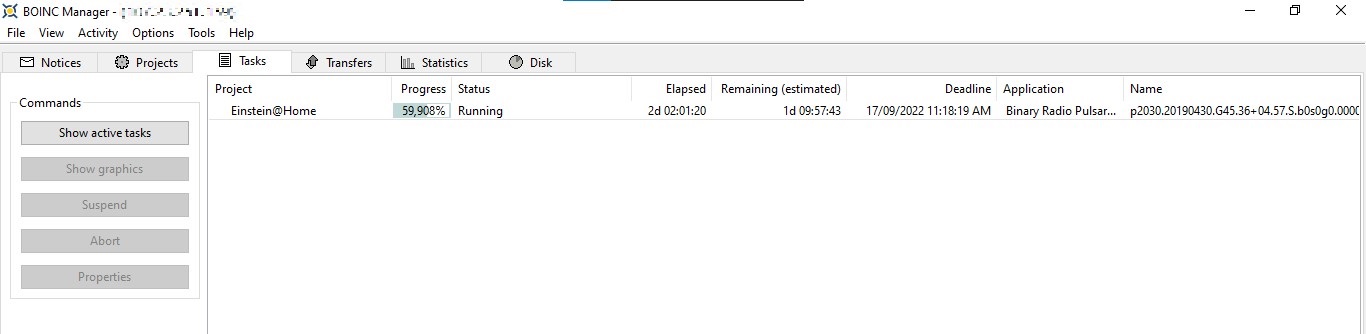
On the Project tab we see the projects we are contributing to.

And on the Tasks tab, we see the tasks assigned to our client.
For a detailed explanation how BOINC Manager works, please refer to the BOINC Manual.
Summary
In this project we have seen:
- How to create an EC2 instance on Amazon AWS using the Management Console
- How to install the BOINC client on this Linux instance
- How to configure the client and attach to a science project
- How to connect to the client via the BOINC Manager